So I've got hold of some of the things I need, aquarium heater, bubbler and check valves, the chemicals are on there way and should be here soon, I'm looking forward to testing some things out. The immediate problem, being a student, I am somewhat poor and I have slightly broken my aquarium heater (more on that later in this post) so things progress slowly (I also have exams and should be focussing on them, but I'm not, because I like electronics more and I'm dedicated to my hobby...)
Here are a few pictures of the the parts:
 |
| From PCB etch tank |
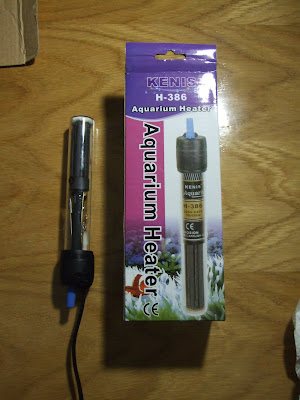 |
| From PCB etch tank |
I got the heater today, I thought "Great, this is exactly what I want" I even managed to slice the limit stopping you from turning the knob too far so I could reach higher temperatures (read: ~40 °C)
N.B. *Sigh* just looked at the cupric chloride guide:
| Temperature (°C) | 0 | 40 | HCl fuming increases. Etch speed increases. (see note 1) |
Looks like I might not even need that heater... I think for the sake of simplicity and cost I shall eliminate it. Good, I feel like I have less things to limit my design now.
Coming back from my tangent, I had modded it and let it sit at ~45°C for a bit and went out for a run leaving it on, I came back to find it no longer working. I took it apart and found that the framework it was all attached to had melted and had pushed the magnet out stopping the lever from making contact with the contact. (best described with a picture)
 |
| From PCB etch tank |
Before:
 |
| From PCB etch tank |
After:
 |
| From PCB etch tank |
I took it all apart and tested all the components then fixed the heating element (shortening it due to a part blowing off it. I assumed the bulb had gone so took it out and replaced it with a jumper, it didn't work. After 30 minutes of troubleshooting I thought to check the fuse (I should have done this first) and low behold it had blown. After reassembling it this time I got a lovely red glow from the element so I'm assuming this is due to the loss of part of the element and the element's resistance has gone down.
 |
| From PCB etch tank |
Because the circuit is setup as a potential divider the bulb was dimmer due to the lower resistance of the element & thus lower current through the bulb. The bulb is attached to a ~120k resistor which I think I'll replace with a lower value one to divert more current to the bulb and hopefully remedy the over powered element issue.
My apologies if this is a little incoherent, It's getting a bit late here. Time for experiment 18 I think, I fancy some electronics to calm me down after such an eventful evening!
 |
| From PCB etch tank |